Myths: The inspiration of faith and inner strength
Myth: A traditional or legendary story, usually concerning some being or hero or event, with or without a determinable basis of fact or a natural explanation, especially one that is concerned with deities of demigods and explains some practice, rite, or phenomenon of nature.
As stated, a myth could be something of fact or fiction. We'll never really know what truths exist about certain stories and which parts of a story are embellishments. It is the lack of 'proof' that is wonderful about a myth. We can let our imaginations soar. There are mythical beasts which are now being linked to creatures of present times that, through simple flourish of imagination were thought to be horrible creatures of the sea!
The Kraken for example, is thought to be the giant squid. A creature in the depths of the ocean which is rarely seen LIVE by human eyes.
Speaking of rarely seen, I now bring my second project. Following along with my "Conceptually thinking through story telling" stream, I would like to bring to light one of my personal favourite myths of Hinduism. A single line appeals to my reference and inspiration for this piece.
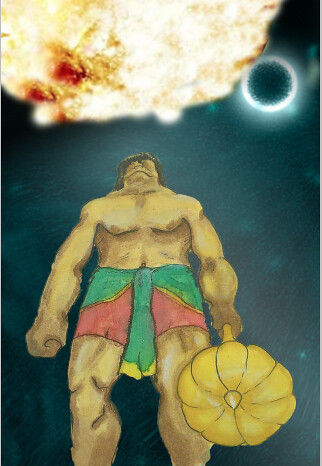
"Realizing the true power of Surya (the Sun God) as an all-knowing teacher, Hanuman orbitted Surya and requested Him to become his teacher."
"Realizing the true power of Surya (the Sun God) as an all-knowing teacher, Hanuman orbitted Surya and requested Him to become his teacher."
You can read the rest of this at: http://www.dollsofindia.com/library/hanuman/
Part I: Sketches to Medium
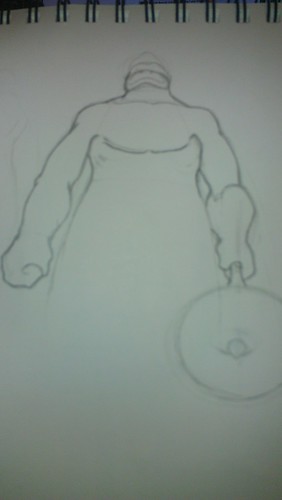
Step 1: Of course, I start with a pencil sketch. I had the idea of what I wanted. The audience looking UP at Hanuman as he makes his way towards Surya, the sun. The difficulty was creating a flowing perspective which also conveyed that this IS Hanuman. I had no references save for superhero shots, but even then I had to piece them together.
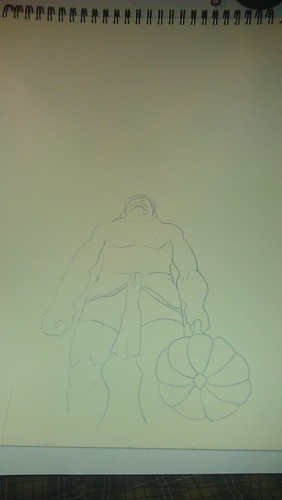
Step 2: I then took the sketch and made a 'Carbon Copy' onto water colour paper. I literally got a piece of carbon paper [a pack of 10-20 small sheets from the dollar store; when things were still only a dollar] and traced my image on to the paper.
Part II: Making it permanent & adding the colour: water colour that is!
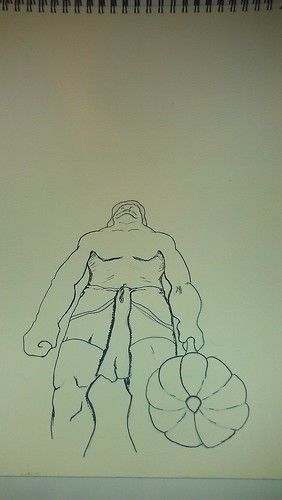
Step 3: I used black acrylic ink (FW), the same brand as in my first piece and outlined Hanuman. I needed the edges to be crisp and remain true for when I add the water colour. I learned from my first piece that Ink -India Ink, does wonders for keeping lines safe from water.
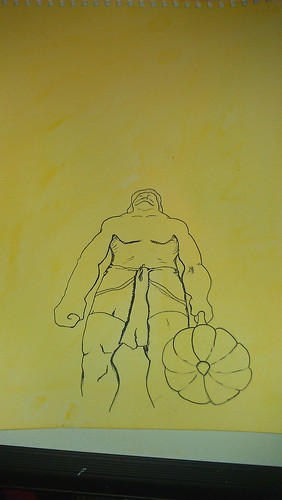
Step 4: I did a basic wash using Yellow Ochre to give a base for Hanuman's tanned skin. I let it dry for an hour before beginning to add the actual colour.
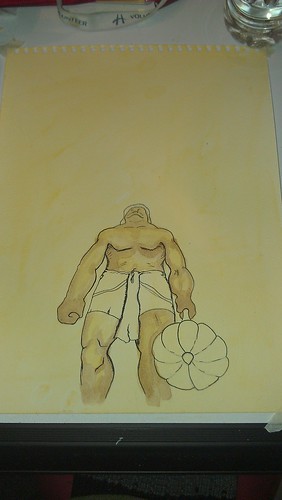
Step 5: I added the first layer of a watered down Burnt Umber in areas where I would develop a shadow. I wanted to create depth and dimension on his body. This step took numerous layers and hours of waiting since, painting over still moist water colour would actually remove the pigment (in my experience).
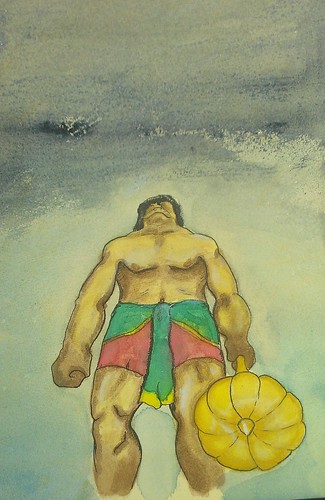
Step 6: The final image before I began my digital additions. I attempted to include the background I imagined in my head and later decided that a digital adjustment would harbour better results. I added a bit of Titanuim white while the image was dry and gave areas a sort of highlight.
Part III: Digitally in favour
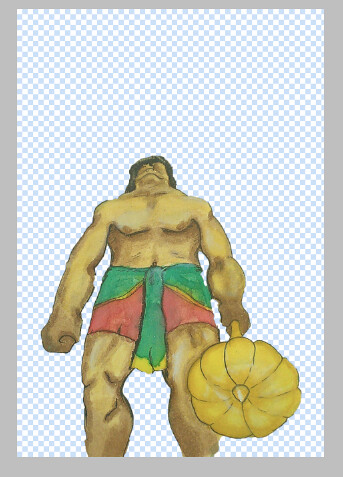
Step 7: I masked the main image out using the free mask tool in Photoshop. I then hit Command + J to create a new layer of just Hanuman (I had to turn off the original layer in order to take this screen shot and see what I was working with).
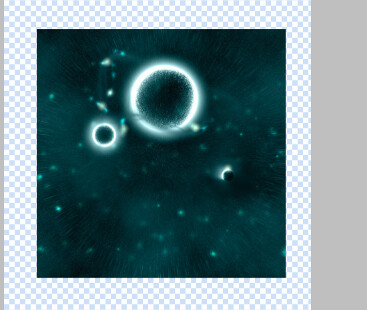
Step 8: Since I wanted to focus on just the background, I turned off the Hanuman layer and then googled an image that I could modify to have planetary bodies in the background and imported it into a different layer.
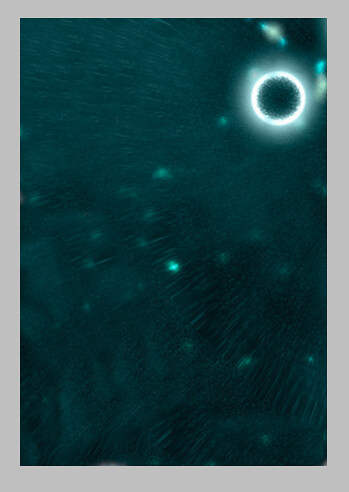
Step 9: I stretched and moved the image as I wanted it to look. There was empty space on the left and bottom, to which I then used the clone tool and filled up with the original space image.
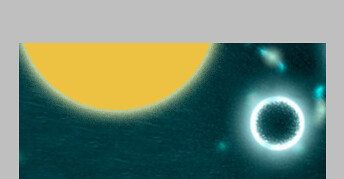
Step 10: I created a circle shape on a new layer and had it appear half on page and half off. I then added an outside glow. This sun didn't seem like enough, so I once again went to google and found an image.
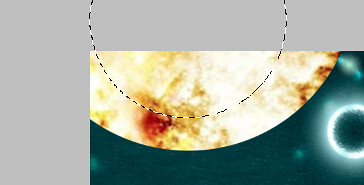
Step 11: Using the image I found from google, I made the shape I had created into a selection by hitting Command + 'clicking on the tile image in layers'. I then made an adjustment mask.
Step 12: After having masked out the 'Sun', I used the clone tool once more to add some solar flares, giving a slightly more realistic look to the sun itself.
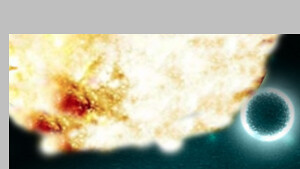
Step 13: After turning all layers on, the traditional image and digital image looked obviously disjointed. I decided to add a filter to help create unity and make everything look a bit less 'different'.
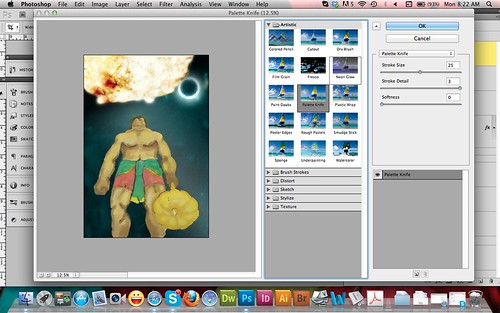
Step 14: I went to 'Filter > Artistic' and clicked on one technique. This window popped up and I went through each before I settled on Palette Knife.

Step Done!: The final product and result of the filter. The painterly effect, I feel brings a better unity to the entire piece. The digital additions seem less digital and more like blotched water colour.
I hope you enjoyed the second piece of my Conceptual tasks. You'll have to come back in a few more weeks for the third piece! Want a clue?
...Flight.
:D!
ReplyDelete